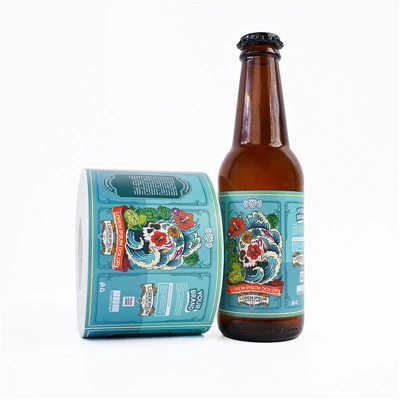
As a core consumable in thermal transfer printing, the proper handling of thermal ribbons directly affects print quality and equipment lifespan. Mastering standardized installation, debugging, and daily use techniques ensures stable and efficient printing, reducing consumable waste and machine malfunctions.
Before installing the ribbon, ensure the printer is powered off and disconnected from the power supply to avoid touching rotating parts while the printer is running. Open the ribbon compartment or top cover of the printer. When removing the old ribbon, carefully rewind it to prevent the coating from loosening or the base tape from breaking. When unpacking a new ribbon, inspect its appearance to ensure the base tape is flat, the coating is uniform, and there are no obvious scratches or stains. Also, ensure the model matches the printer specifications to avoid incompatibility in width or inner core diameter, which could cause malfunctions. Insert the ribbon into the feed spool in the indicated direction, with the coated side facing the print head. Securely insert the inner core into the spool groove, then pull out an appropriate length to cover the take-up spool and secure it. During this process, avoid direct contact between the coated side and rough surfaces to prevent premature wear.
After starting the printer, it will enter the initialization or self-test program, allowing the device to automatically detect ribbon tension and feed smoothness. For the first print, a test print is recommended to observe whether the print is complete, the color is uniform, and whether there are any horizontal stripes or blank bands. If the print is too light, you can appropriately increase the printhead temperature or slow down the printing speed to allow the coating to fully melt and transfer. If the print is too dark or ink overflow occurs, you can lower the temperature or increase the speed to reduce excessive coating penetration. Different substrates and ribbon types require repeated fine-tuning of parameters to achieve clear and durable results.
During use, keep the ribbon path clean to prevent paper scraps, dust, or oil from adhering to the coating surface, as this will affect the uniformity of transfer and leave defects on the label. The printhead will generate heat during prolonged operation; it should be wiped periodically with a dedicated cleaning pen or non-woven cloth dampened with a small amount of cleaning agent to prevent ribbon residue and dust from solidifying at high temperatures, damaging the printhead and shortening its lifespan. When changing paper or pausing operation, do not forcibly pull the ribbon. Allow the machine to complete the tape retraction process or press the stop button to bring it to a smooth stop to prevent the base tape from stretching and deforming.
Replace the ribbon promptly when the remaining amount is insufficient. Excessive tension or slack will affect tension balance, causing tape deviation or print drift. Replaced ribbons with intact coatings can be recycled or properly sealed according to the manufacturer's instructions to avoid environmental pollution. Unused ribbons should be stored away from light, moisture, and heat sources, and kept in their original packaging until installation to prevent the coating from absorbing moisture and deteriorating or losing its stickiness.
The operation of ribbons includes several steps: safe installation, parameter adjustment, operation monitoring, and regular maintenance. Following these steps and adjusting flexibly based on actual printing results will allow the ribbon to stably perform its thermal transfer advantages, ensuring clear and durable labels and extending the effective lifespan of the printer and consumables.